Most Shopify shoppers don’t buy on their first visit. They browse, find something they love, mentally save it for later, then leave.
Without a wishlist, those interested shoppers disappear, taking the sale with them.
A wishlist fixes that. It gives shoppers a place to save their favorite products. And it gives you a way to bring them back when prices drop, stock runs low, or items return to inventory.
This guide covers every realistic way to add wishlist to Shopify, from manual code edits to one-click apps. Then I’ll show the simplest method (installing a free app) step by step.
By the end, your store will have a working heart button on every product. You’ll also have automated recovery emails to bring saved-item shoppers back.
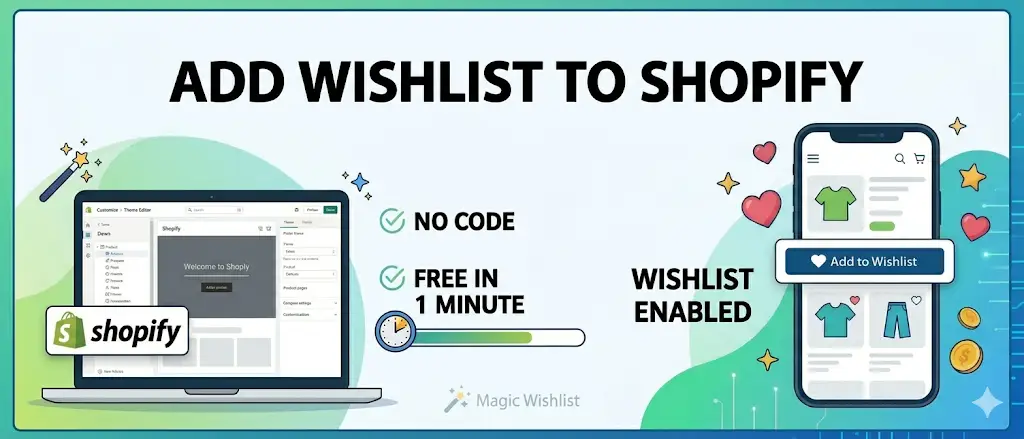
Quick answer: The fastest way to add wishlist to Shopify is to install a free app like Magic Wishlist from the Shopify App Store. Setup takes under 1 minute and requires no code or theme editing. It works with every Online Store 2.0 theme, including Dawn, Sense, and Craft.
Why every Shopify store needs a wishlist
Three signals make the case clear:
- Most online shoppers leave without buying on their first visit. The Baymard Institute consistently puts cart abandonment alone above 70%. And that’s only the shoppers who got as far as adding to cart.
- Saved items convert at multiples of cold-traffic rates. A shopper who clicks a heart button has already declared interest. Every save is a warmer lead than a fresh visitor.
- Behavioral recovery emails outperform generic newsletters by a wide margin. An email tied to a specific saved product gets opened far more often than a “20% off everything” blast. Timing and relevance do the heavy lifting.
The shift this enables is structural. Without a wishlist, shoppers who don’t buy are gone forever.
With one, they become a tracked, recoverable list of warm leads. That list compounds every week your store is open.
Three ways to add wishlist to Shopify
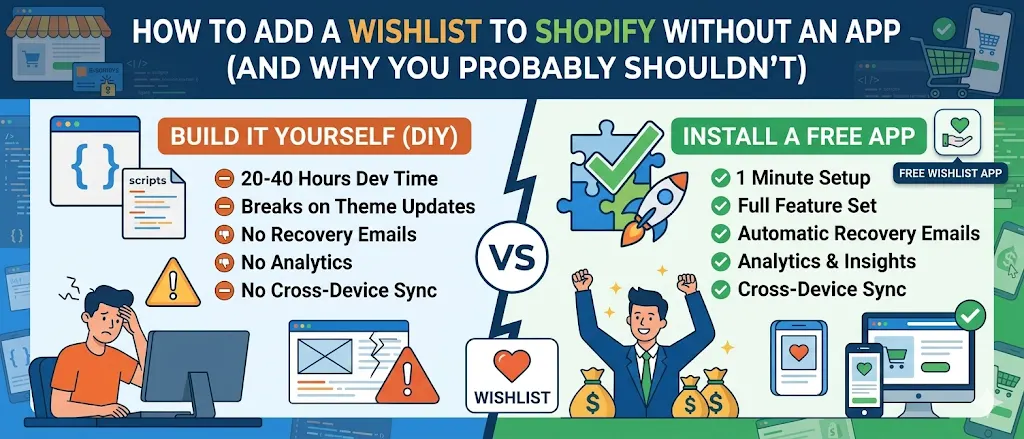
Before installing anything, here’s a clear-eyed comparison of the realistic options:
- Edit theme code: 20–40 hours, breaks on updates, no emails
- Hire a developer: $2,000–$8,000, ongoing maintenance
- Install a free app: 1 minute, no code, recovery emails included (recommended)
Option 1: Edit your theme code manually
You’d add a custom Liquid section. Then you’d write JavaScript to read and write localStorage, and build a custom wishlist page. Don’t do this.
All that custom coding adds up to a 20–40 hour developer project. It breaks on every theme update, has no recovery emails, and stores data only on the device. A guest who switches phones loses their list.
Option 2: Hire a Shopify developer
Custom development costs $2,000–$8,000 for a basic wishlist with email capture. You’ll also pay ongoing maintenance for theme upgrades and feature requests.
Worth it only if you have unique requirements no app supports. That’s rare.
Option 3: Install a free wishlist app (recommended)
A purpose-built Shopify app gives you a wishlist, recovery emails, analytics, and integrations. Most are free.
Setup is one click. No code touches your theme, and it stays compatible across theme updates.
Most Shopify stores choose this route. It’s what we recommend too.
How to add Magic Wishlist (free) in under 1 minute
Magic Wishlist is a free wishlist app built specifically for Shopify Online Store 2.0. Here’s the full setup, step by step.
Step 1: Install from the Shopify App Store
- Open the Shopify App Store and search for Magic Wishlist (or install directly).
- Click Add app.
- Approve the standard permissions Shopify requests. These let the app read your products and write wishlist data on your store.
The install takes about 30 seconds. You’ll be redirected to the Magic Wishlist dashboard inside Shopify Admin when it’s done.
Step 2: Enable the app block in your theme
- Go to Online Store → Themes → Customize.
- Click App embeds in the left sidebar.
- Find Magic Wishlist and toggle it on.
This adds the wishlist button to every product page automatically. Nothing touches your theme code.
It’s a Shopify Online Store 2.0 app block. It lives in a sandboxed slot and stays compatible across theme updates.
Click Save in the top right of the theme editor.
Step 3: Customize the look
Back in the Magic Wishlist dashboard, open Branding and set four things:
- Primary color: match your store’s brand color
- Icon style: choose between filled, outline, or your own custom SVG
- Display mode: drawer (slides in from the right), modal (centered overlay), or full page
- Wishlist page slug: usually
/pages/wishlist
Use the Live preview button to see exactly how it’ll look on your storefront before publishing.
Step 4: Turn on the recovery emails
In the Emails tab, toggle on the four built-in recovery email types:
- Abandonment reminder: sent a set number of hours after a shopper saves an item without buying
- Price drop alert: sent the moment a saved item’s price decreases
- Low stock alert: sent when a saved item drops below a configurable threshold
- Back in stock alert: sent when a saved item returns to inventory
Each email lets you edit:
- Subject line
- Body copy
- Color theme
Click Send test email to preview each one in your inbox before going live.
Step 5: Verify on your storefront
- Open your store’s product page in an incognito window.
- Confirm the wishlist button appears on the product card.
- Click it.
- The item saves to a guest wishlist that survives between sessions.
That’s it. Under one minute from install to a working wishlist with recovery emails on autopilot.
Best practices for a wishlist that actually converts
Adding a wishlist is the easy part. Getting shoppers to use it depends on a few setup decisions. So does turning that usage into sales.
Make the wishlist button impossible to miss
Place the wishlist button on the product card (collection grid) and on the product page, not buried in the menu. Shoppers should never have to click into a product to save it.
The single biggest predictor of wishlist save volume is button visibility on the collection grid.
Allow guest wishlists with no signup required
Forcing account creation kills wishlist usage. Guest wishlists capture far more saves than account-required ones. There’s zero friction.
The tradeoff people worry about is guest data getting lost. The app solves it: guest wishlists merge automatically when the shopper signs in or checks out. Nothing disappears.
Save the exact variant, not just the product
If a shopper saves “Linen Jacket, Size M, Blue”, your back-in-stock email should fire only for that exact variant. Nothing else.
Variant-level saving turns “you saved this” into “you saved exactly what I wanted.” Magic Wishlist tracks variants by default.
Personalize recovery emails with discount codes
A 10% off code addressed to the shopper by name converts dramatically better. Generic “20% off everything” blasts can’t compete.
Magic Wishlist auto-generates a unique code per shopper for the abandonment email. Something like GRAB-SARAH10.
Personal, automatic, and harder for shoppers to ignore than a mass email.
Track wishlist revenue, not just saves
Total wishlists is a vanity metric. The number that matters is revenue attributed to wishlist sessions. Your wishlist app should report it.
Magic Wishlist counts revenue from any order placed by a shopper who saved an item. Guest checkouts included.
What to do after the first week
Once your wishlist is live, three follow-ups will compound the impact:
- Connect your email tool. Pipe wishlist events into Klaviyo, Omnisend, Mailchimp, or Shopify Flow. Wishlist behavior will trigger your existing automations. Magic Wishlist has 9 one-click integrations.
- Add a “Share wishlist” CTA. Gift shoppers and birthdays drive surprising organic traffic when sharing is on. Public read-only share links also let friends and family buy directly.
- Watch the analytics. Within two weeks you’ll see which products are saved most. That’s a free signal of what to feature on the home page. Use it to pick ad creative or restock priorities.
Stop losing shoppers, start saving them
Adding a wishlist is the highest-ROI minute you’ll spend on your Shopify store this month. It’s also one of the simplest ways to boost sales without paid traffic.
- Every shopper who would have left without buying becomes a recoverable lead.
- Every price drop becomes an email opportunity.
- Every back-in-stock moment becomes a sale.
Install Magic Wishlist free. Your first save can happen within the hour.